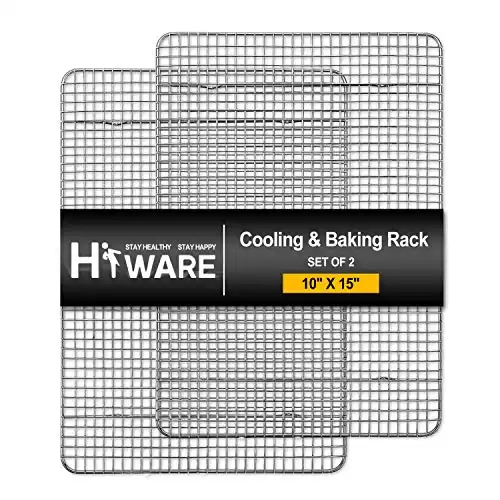
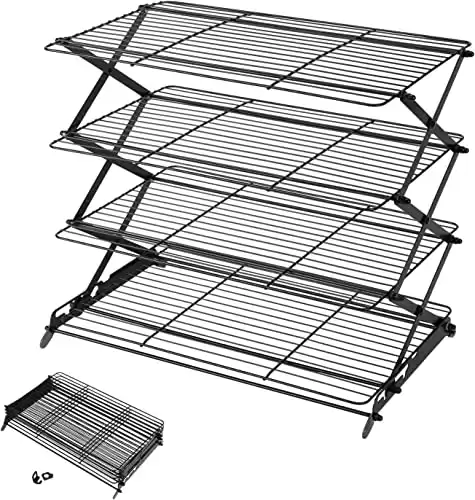
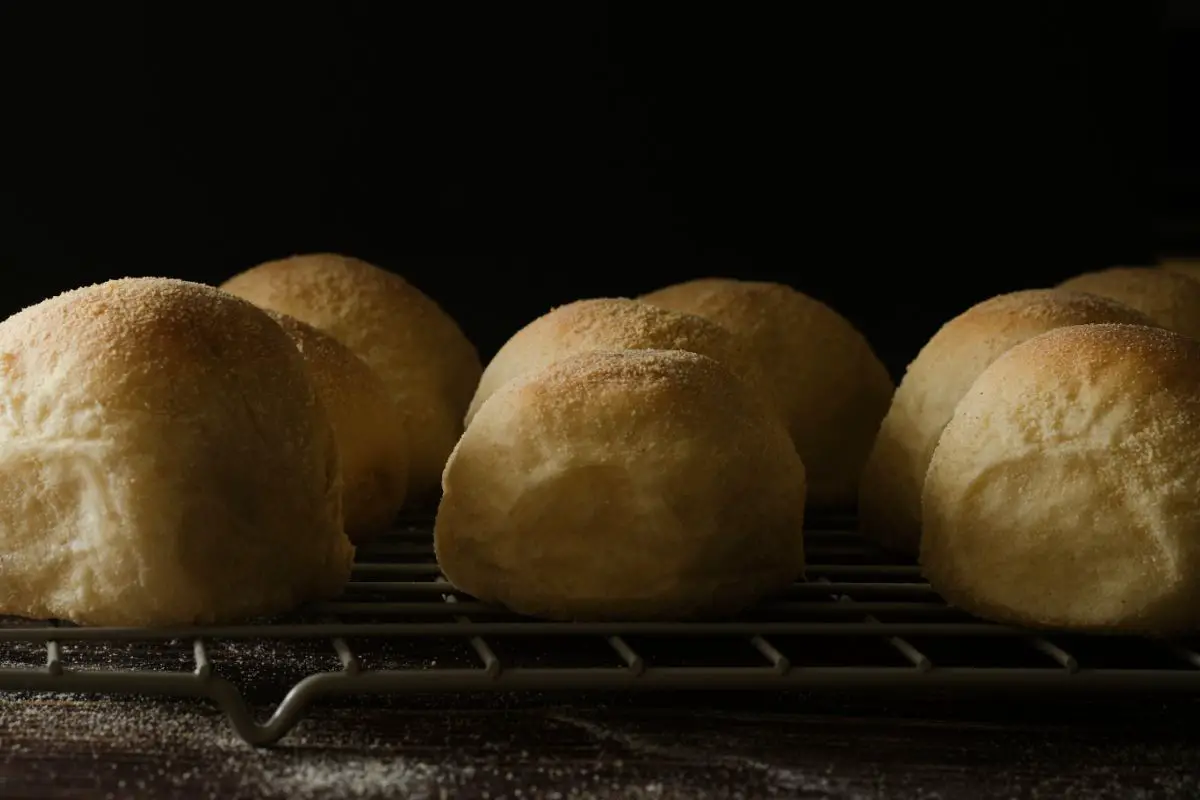
When baking, a cooling rack is one of the most important pieces of cooking equipment. After your delicious baked goods have finished baking and have been taken out of the oven, they need to cool down so that they can be eaten or decorated. Here are two of our favorites, but read on if you need them immediately.
When baked goodies are too hot, they can pose some danger. They have been known to burn eager mouths or make your decorating messy and unusable. Using a cooling rack is one of the best ways of getting your baked goods to cool down quickly.
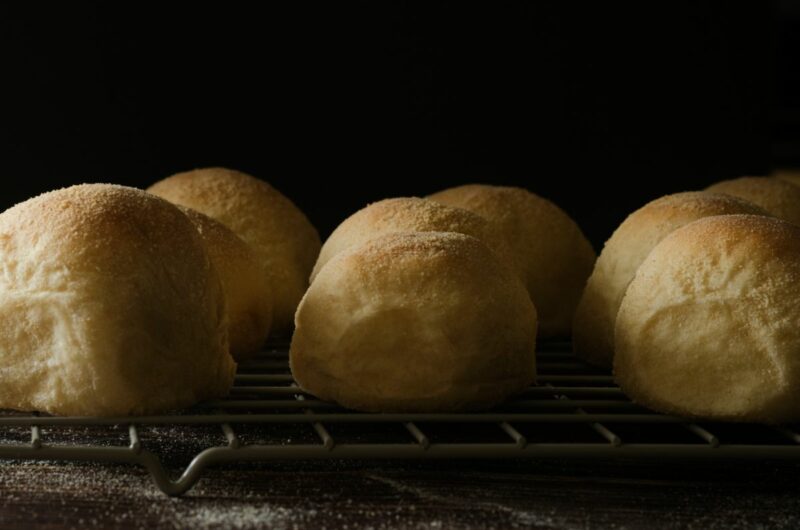
These useful little racks lift your baking from the counter, which helps to protect it, and allows your food to cool down from all angles including underneath. This makes them cool down more quickly and evenly than simply placing the food or baking dishes on the counter.
You may not have enough cooling racks, they may be too small, or you may have forgotten to buy any at all! In this case, you will need to find a substitute for a cooling rack that can still do the job well.
That’s why we’ve written this article to inform you of the 7 best cooling rack substitutes to try today.
Whatever the reason why you don’t have a cooling rack to hand, these substitutes will make sure that your delicious baking cools down quickly and evenly. Let’s get started!
The 7 Best Substitutes for A Cooling Rack
Many of these seven options use items that you already have in your kitchen so you should be able to find them and cool your baking easily.
1. Baking Sheet And Parchment Paper
This is one of the easiest substitutes and uses items that any cook that bakes is sure to have. All you need is some parchment paper and a baking sheet or cooking pan.
Most baking sheets or cooking pans have raised edges and you can take advantage of these to get some air to circulate around your baked goods.
Turn the baking sheet or cooking pan upside down so the edges are against your counter and the bottom of the pan is lifted. Then, place a sheet of parchment paper onto the pan or sheet and place your baked goods on top.
Try to ensure that there is enough space around the sheet so that air can get at your hot baking from all angles.
2. Removable Oven Grate
If your oven is a gas oven, then the stovetop will have heavy metal grates. These are positioned over the gas burners so you can place your pans over the burner without touching the burner itself.
These grates can be removed from the stovetop and make for great impromptu cooling racks! They’re solid and a good size so you can place items such as casserole pans directly onto the rack.
They will be lifted from your counter and air will be able to get at the pans easily. If you’ve baked some bread and want to cool it directly on the oven grate, then make sure you clean this thoroughly first. This is a favorite hack of ours when traveling.
3. Cookie Cutters
What better way to cool a baking tray full of cookies than to use some cookie cutters? Take a number of cookie cutters and spread them out across your counter.
They shouldn’t be directly next to each other but should be spaced out so that air can get between them. You can then place your baking sheet on top of the cookie cutters.
We wouldn’t recommend using this method for cooling baked goods directly as cookie cutters won’t make balancing baked goods easy. Instead, always use a flat surface such as a baking sheet on top of the cookie cutters.
4. Pieces Of Foil
This is another great way to get some air underneath your baking tray once you’ve taken it out of the oven. All you need is some aluminum foil for this method. Rip several pieces of foil and roll them up into tight cylinders.
There should be enough layers to make the foil thick when compressed. The number of rolls you will need depends on how big your baking tray or pan is.
For smaller and lighter trays, you may only need three rolls that are positioned around two inches away from each other. Larger and heavier objects, however, will need more rolls.
You can use as many rolls as you need to bear the weight of the pan but make sure they’re all kept around two inches apart.
Your aluminum foil rolls need to be at least two inches apart so that air can circulate between them and cool the base of your pan.
You don’t need your pan to be too high from the counter but the foil should be thick and bountiful enough so that none of the pan is touching your countertop.
5. Chopsticks
You can use chopsticks in a similar fashion to how you used the aluminum foil. The number of chopsticks you will need will again depend on the size and weight of your pan.
Light baking sheets that have items such as cookies on them may only need two to three chopsticks in total. Place a chopstick underneath opposite ends of the tray and if necessary, one in the middle to take the weight as well.
Heavier pans may need more chopsticks than this to prevent the chopsticks from being squashed. This is especially the case if you’re using disposable wooden chopsticks as these are not as durable as reusable wooden chopsticks or metal ones.
Use as many chopsticks as you need to hold the weight of the pan but again, ensure there are at least two inches between each one.
6. Cool Plates
You can help your baked goods to cool down more quickly by removing them from their baking tray and placing them on a cool plate.
This method won’t work as well with items such as casserole dishes but will work with cookies, muffins, or any smaller items that you’ve baked. Choose a plate that is big enough to hold your baked goods while leaving some space between them.
If you don’t have a single plate that is big enough for this, you can always use several smaller ones. It’s important that there is room between the individual items and that they aren’t touching each other.
If they do touch, it will take longer for them to cool down as air won’t be able to circulate around them fully. For baked goods that are a little oily or buttery, you can place some paper towels on the plate first to absorb this.
7. Cutting Board
This option works in a similar way to plates. Transfer your baked goods from their baking tray and directly onto a clean cutting board. You can use a wooden cutting board for this, but boards made from granite or marble are especially effective.
These boards are always cool to the touch and will help your baked goods cool down more quickly. As with the plates, use some paper towels to absorb any excess oil or butter if necessary.
Final Thoughts
In this article, we listed the 7 best cooling rack substitutes to try today. If you don’t have any cooling racks available to help your baked goods cool down, you can use any of the methods described in this article instead.
If you’re looking for a new cooling rack, this is one of our favorites for everyday cooking and here’s another we use when baking for friends and coworkers…remember we earn a small commission if you use our links. It helps keeps useful content like this coming and supports a small business, we really appreciate it!
Some are best with pots and pans and others work well with smaller baked goods, but whatever you’re baking, there is an option here that will work for you.
The 7 Best Cooling Rack Substitutes To Try Today
Course: Substitutes4
servings30
minutes40
minutes300
kcalIf you don’t have a cooling rack, no worries! There are plenty of alternatives to choose from. Check out the 7 best cooling rack substitutes to try in your baking adventures.
Ingredients
Baking Sheet And Parchment Paper
Removable Oven Grate
Cookie Cutters
Pieces Of Foil
Chopsticks
Cool Plates
Cutting Board
Directions
- Decide on what substitute you need
- Pick a substitute from the list above
- Read what you need to substitute with
- Create the recipe and enjoy
Recipe Video
https://www.youtube.com/watch?v=ELx5RdTDUUoVideo can’t be loaded because JavaScript is disabled: How to Make a DIY Cooling Rack (https://www.youtube.com/watch?v=ELx5RdTDUUo)- What Exactly Do Chickpeas Taste Like? Is There A Distinct Flavor? - September 30, 2023
- Top 11 Low Carb Options at Sonic Drive-In for Keto Diet - September 30, 2023
- What Should You Serve Alongside Potato Salad? 8 Incredible Side Dishes - September 30, 2023

